Monday, February 24, 2014

Sunday, January 19, 2014

1st grade Spiral Snakes

For this project, we read Swirl by Swirl by Joyce Sidman. We searched for spiral shapes and patterns as we read the book. This book has beautiful illustrations! 

Next, they were able to use markers, colored pencils and crayons to create new patterns inside their very own snake. They were to use color on both sides of the snake (front and back).  When they were finished, they cut out their snake, very carefully, cutting on all of the black lines, inside the snake as well. They could bring it home or leave it to be displayed. These would be wonderful hung from the ceiling! If I had early finishers, I let them make another snake! Some made three or four! I used a printed off snake on copy paper but you can easily show them how to draw their own snake! 

With my early finishers, I did just that! Instead of grabbing one of my preprinted snakes, I showed them how to it's just a spiral and to start in the middle and draw out. Next year, I'm going to have them draw it themselves and then they can turn it into any creature they want, like a snake.


5th grade Radial Name Design

When I was student teaching, my cooperating teacher had this wonderful lesson. With the task of teaching symmetry, I remembered this project. Not all of them turned out like I wanted, but it was definitely a learning process.
First we learned about symmetry, asymmetry, and radial symmetry. With examples of each and a discussion to check for understanding, we started the project. Each student was given an 18x18 piece of paper (in hindsight, next year it will be a smaller paper). They were to fold their paper so that they had eight equal triangles. They had to write their name any way they wanted in one of the triangles (block, bubble, cursive, print) making sure their name touched both the top and bottom of the triangle. I encouraged them to try block or bubble but cursive will give a really cool effect as well. 
Once they had it the way the liked, they had two choices. Use a pencil to transfer the design or use a sharpie to outline the design. Eight times. You can find examples of how to do these on youtube and it is much simpler than me explaining it in writing. :)
Once they were finished, they could color it in. Whatever they did to one triangle, they had to do exactly to all of the triangles for it to have radial or rotational symmetry. They liked the end result but groaned and groaned about how much time it took. 

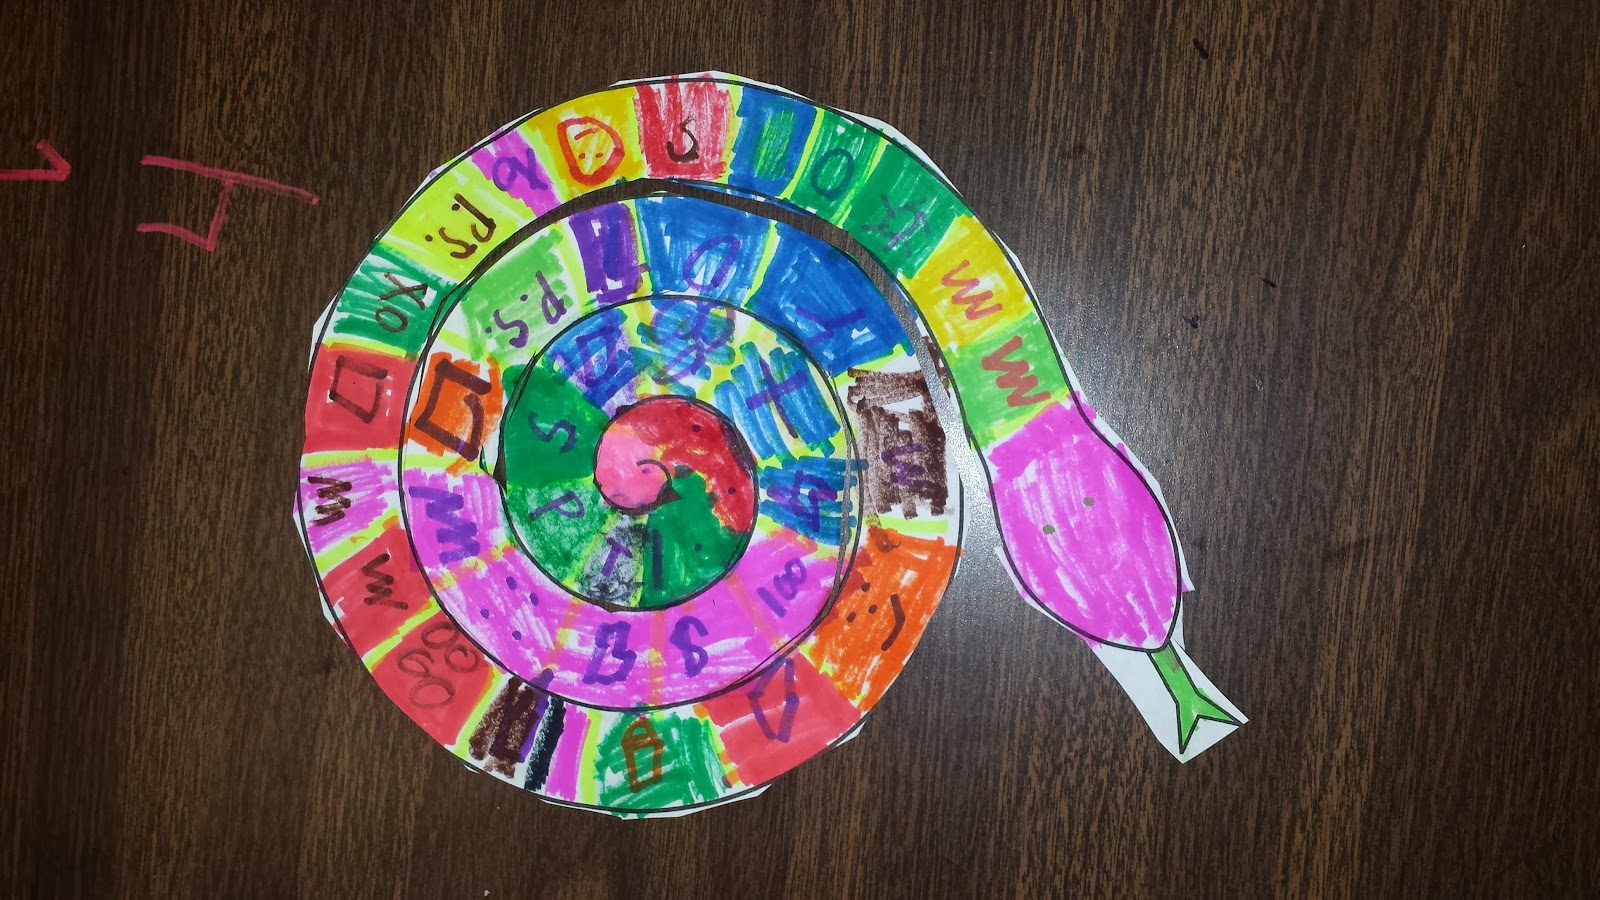
Some chose to mix up the coloring process. I like the result.


One of my favorties


Kindergarten "Polar Express" trains!!

With Kinders, I find one or two day lessons best because that keeps their attention and their LOVE for learning alive and well! 
This is one of those wonderful one day lessons that they can take with them when they are finished! Instant gratification!! :)

I found this one PINTEREST of course. Here's the link to the original! Miss Kindergarten Polar Express Trains

First we studied trains by looking at what trains look like and what they need to move. Together, we then, drew the railroad track and the parts of the train using white chalk pastels on black construction paper. We started with the engine car. We then added other shapes to the back until the train ran off the paper. We wanted it to look like the train kept going and going. Then we added wheels and details. If they wanted snow and a moon or two, they did. Some even added snowmen complete with a hat and scarf! The last step was filling the train cars in with colored chalk of their preference. This created a pattern! :) 

My littles loved this project!!!

Shapes, patterns, colors, chalk medium